Plan the Shot Hour, Not Just the Shot List
Choose a shoot location by the productive minutes it protects. Plan load-in, styling, light checks, set changes and cleanup before the clock starts.
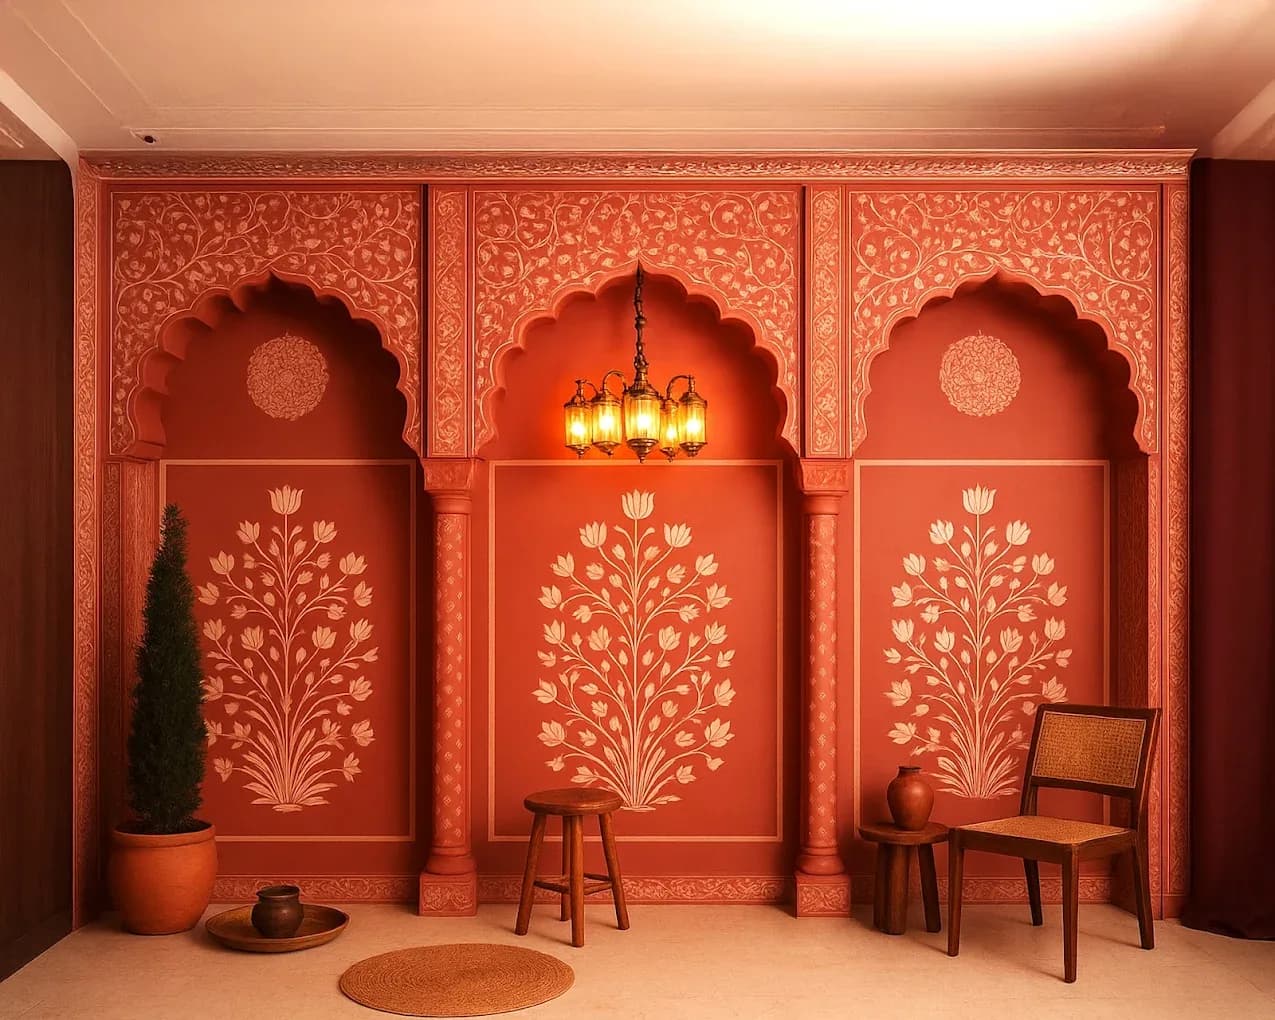
The first photograph is rarely made when the booking begins. Cases come in. A rail needs a corner. The product has to be unpacked. Someone discovers that the nearest socket sits across the walking route.
A useful photoshoot studio checklist protects productive minutes. Choose the room by how quickly the crew can load in, prepare, light, reset and clear it, not by how many different backgrounds appear in the gallery. The venue earns its rate when it reduces the time between frames.
Find where the paid hour disappears
Write the shoot as a sequence before choosing the location. A tight shot list can still move slowly if every setup competes for the same patch of floor.
Load-in and preparation
Ask where a vehicle can stop, which entrance equipment uses, whether there are steps or a lift, and how far cases travel. Then find a preparation edge that will not drift into frame. Wardrobe, hair and makeup, product unpacking and charging all need surfaces and light of their own.
A larger room with no storage can work more slowly than a compact room with a clear place for cases.
First-light check
The crew needs to see what the room does at the planned hour. For daylight, confirm window direction, obstructions, direct-sun timing and whether curtains or blackout are available. For controlled light, check the usable floor area after stands, modifiers and cable routes are placed.
Do not infer current light or power performance from listing photographs. Test the room for the actual schedule and equipment.
Resets and wardrobe changes
Count every move: furniture out, prop in, product cleaned, wardrobe changed, surface reset. A “new look” may cost more minutes than a new frame if the crew must rebuild the same working area.
Read the location for pace
The number of styled corners is a poor proxy for output. Ask how many genuinely different frames the room can support without a major technical reset.
Two corners with different light direction, camera distance and surface character may be useful. Five decorated corners that all force the camera into the same position are mostly variety for the eye, not for the shot list.
Trace the working triangle
Draw three points:
- set
- preparation
- storage
Short, clear routes between them protect time. A stylist should be able to fetch the next product without crossing the live frame. Used props need somewhere to go without mixing with the next setup. The photographer needs room behind the camera, not only in front of it.
Check what must stay fixed
Ask which furniture can move, who moves it and where it can wait. Confirm rules for attaching backgrounds, using tape, bringing stands or creating haze. Do not assume permission from evidence that a previous production did it.
Match the room to the shot list
Group the list by technical need, not only by product or outfit.
Product
Note working surface height, camera position, reflection control, power and a clean prep area. Small products can demand more careful surface and dust management than a wide portrait.
Portrait
Check subject-to-background distance, room for a key light, changing privacy and a comfortable waiting edge. If sound is being captured, listen for air conditioning, road noise and adjacent activity too.
Movement
Mark the subject's path and the camera's path. Include the space needed to accelerate, turn and stop. Fixed furniture may be part of the composition, but it can also narrow safe movement.
Build the shooting order around shared conditions. Capture every setup that needs one daylight direction before rebuilding for controlled light. Put messy or high-reset work later when possible.
Use the ALTR productive-minute test
For each shortlisted location, estimate four blocks. These are planning estimates, not promised timings.
- Arrival to ready: How many minutes from door access to the first technical check?
- Ready to first frame: What styling, lighting and approval remain?
- Frame to frame: Which changes occur between shot groups?
- Last frame to handover: What must be cleaned, restored, packed and carried out?
Now label every task:
- Room helps: built-in surface, nearby storage, usable prep light.
- Room is neutral: the crew supplies it without affecting other work.
- Room slows it: long carry, shared route, fixed setup or missing holding space.
The exercise turns “photogenic” into a working comparison.
An illustrative first-hour run sheet
This sample is for a small brand shoot with one tabletop set and a prepared shot order. Change it for your crew and equipment.
00:00 to 00:10: load and zone
- Bring in priority cases first.
- Place storage, preparation and set zones.
- Keep the entrance and working routes clear.
00:10 to 00:20: technical check
- Confirm power and cable routes.
- Check the planned light condition.
- Test camera position, background and reflections.
00:20 to 00:35: final preparation
- Build the first product arrangement.
- Complete styling and clean the frame.
- Photograph a reference of the approved setup.
00:35 to 01:00: first shot group
- Capture the shared angle and lighting setup.
- Mark completed frames against the shot list.
- Stage the next product outside the live set.
If the plan cannot reach a useful frame within this illustrative hour, either reserve more setup time, simplify the first look or choose a room that removes a bottleneck.
Questions that protect the clock
Send these before booking, then verify important unknowns during the 30-minute venue recce:
- When can equipment enter, and when must it be out?
- What is the route from vehicle stop to set?
- Which rooms and support areas are included?
- What furniture can move, and who restores it?
- Where can wardrobe, props, packaging and cases wait?
- Which power, lighting or grip items are confirmed for the booking?
- Are there restrictions on tape, rigs, shoes, food, haze or noise?
- What cleanup and waste removal does the crew own?
- How is overtime measured and approved?
One strong set can beat five weak corners
Choose depth over decorative quantity when the schedule is tight. A set with usable camera distance, predictable light, nearby prep and a clean reset route can produce more than a location full of looks that fight the crew. Use the time-stamped natural-light test when daylight drives the shot, or the styled-studio brand-fit test when the room already has a strong visual identity.
Find spaces available for shooting, then send the host your shot groups, crew size, equipment list and required access period. Ask about the first-hour path, not only the hero frame. That is where the productive shoot begins.